"Cracker Jacks"
No, there is no "prize" in this bag! Sorry. After you taste this though, you'll forget this "Cracker Jacks" bag doesn't have those little comics or stickers in them. You'll be quite satisfied.
I needed a portable, tasty, and unique treat to bring to the Thanksgiving dinners I attended this past weekend. This definitely did the trick.
I needed a portable, tasty, and unique treat to bring to the Thanksgiving dinners I attended this past weekend. This definitely did the trick.
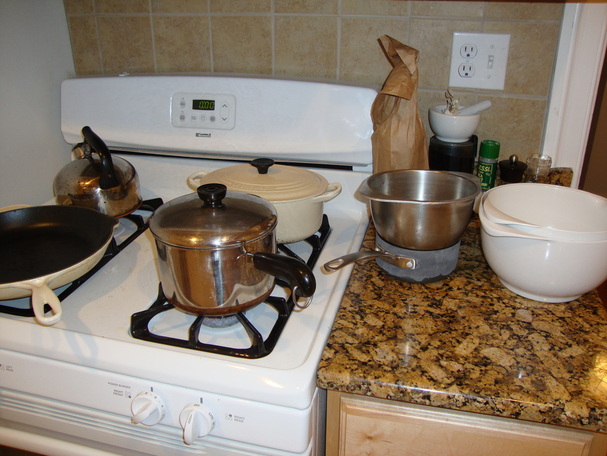
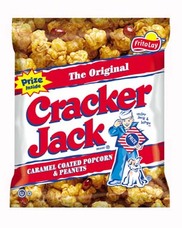
Yummmmm. I started with a delicious 6 quart turkey roasting pan of Nature's Promise Organic Natural popcorn.
Noelle's "Cracker Jacks"
Ingredients:
1 cup butter
2 cups brown sugar
1/2 cup light corn syrup
1 tsp salt
1/2 tsp baking soda
1 tsp vanilla
1 1/2 cups lightly salted peanuts
6 quarts of popped corn*
Directions:
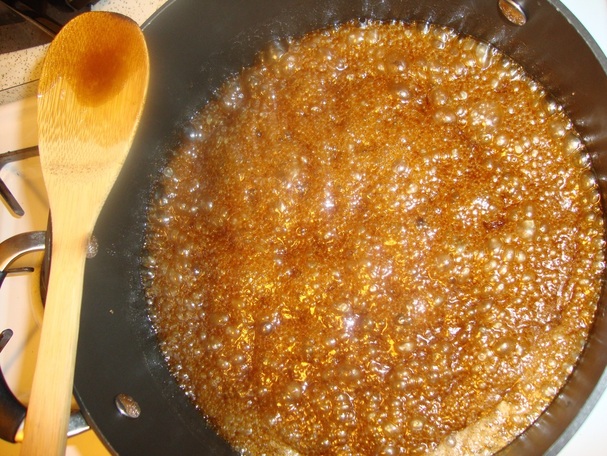
Bring butter, brown sugar, light corn syrup, and salt to a gentle boil.
Boil gently without stirring for 5 minutes.
Remove from heat, stir in baking soda and vanilla.
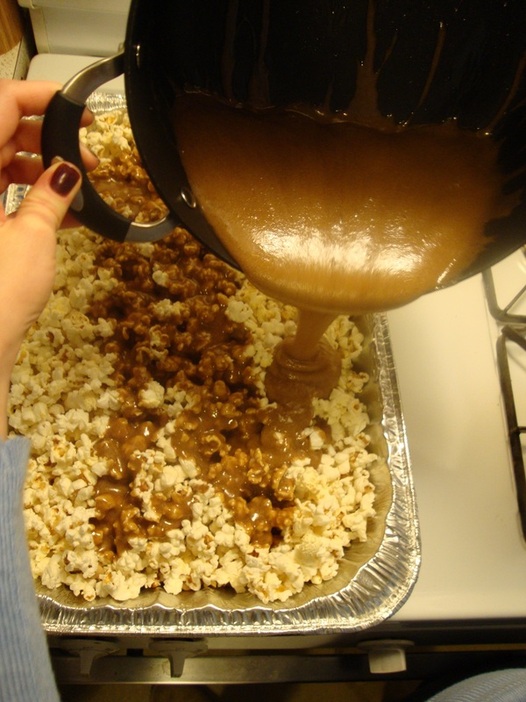
Pour popcorn into large roasting pan.
Pour syrup over popcorn and peanuts and toss**. (Use a wooden spoon here coated with non-stick cooking spray. It helps with the frustration.)
Bake 1 hour at 250 degrees, stirring every 15 minutes.
*I suggest using an AIR POPPED popcorn. It relieves you from picking out the kernels at the bottom of the microwaved popcorn bag and minimizes the sodium and fake butter taste.
**The stirring is tedious, I know, but necessary because the sugars need to spread evenly with the hot oven's temperature. Otherwise, there will be cute little burnt nuggets on the bottom of your pan. Bleh.
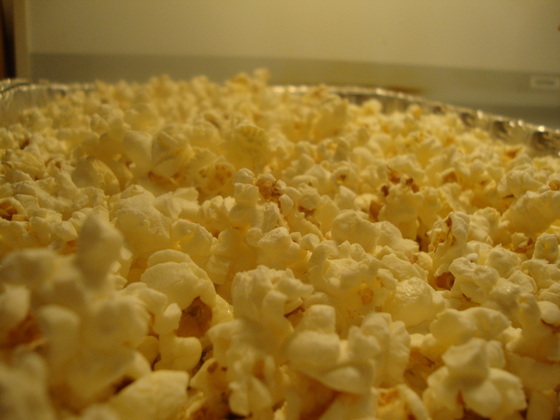
Butter, sugar, syrup, and salt.
Ingredients:
1 cup butter
2 cups brown sugar
1/2 cup light corn syrup
1 tsp salt
1/2 tsp baking soda
1 tsp vanilla
1 1/2 cups lightly salted peanuts
6 quarts of popped corn*
Directions:
Bring butter, brown sugar, light corn syrup, and salt to a gentle boil.
Boil gently without stirring for 5 minutes.
Remove from heat, stir in baking soda and vanilla.
Pour popcorn into large roasting pan.
Pour syrup over popcorn and peanuts and toss**. (Use a wooden spoon here coated with non-stick cooking spray. It helps with the frustration.)
Bake 1 hour at 250 degrees, stirring every 15 minutes.
*I suggest using an AIR POPPED popcorn. It relieves you from picking out the kernels at the bottom of the microwaved popcorn bag and minimizes the sodium and fake butter taste.
**The stirring is tedious, I know, but necessary because the sugars need to spread evenly with the hot oven's temperature. Otherwise, there will be cute little burnt nuggets on the bottom of your pan. Bleh.
Butter, sugar, syrup, and salt.
I only stirred the ingredients to combine them into one color. After the syrup begins to get hotter, don't touch it! The air bubbles need to move through it.
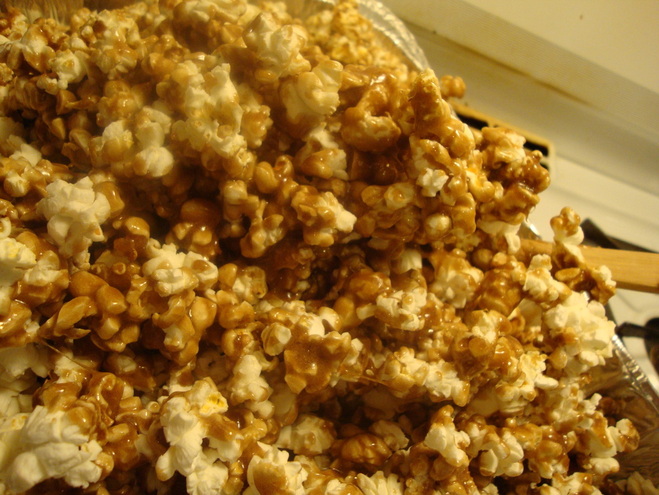
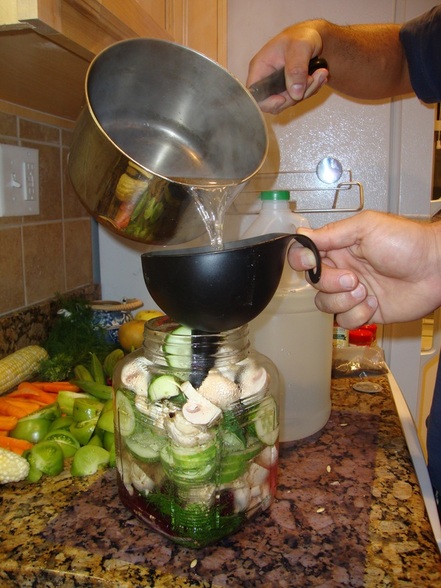
Thank you Mister Photographer for capturing the beginning of the syrup drizzle.
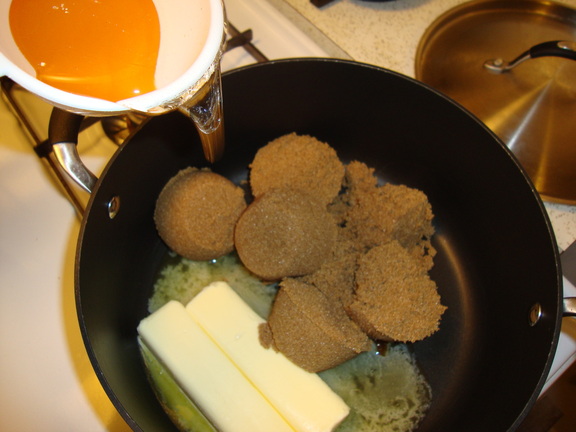
My shadow is over the popcorn so the picture is a little dark, but look at how THICK that is!
My shadow is over the popcorn so the picture is a little dark, but look at how THICK that is!
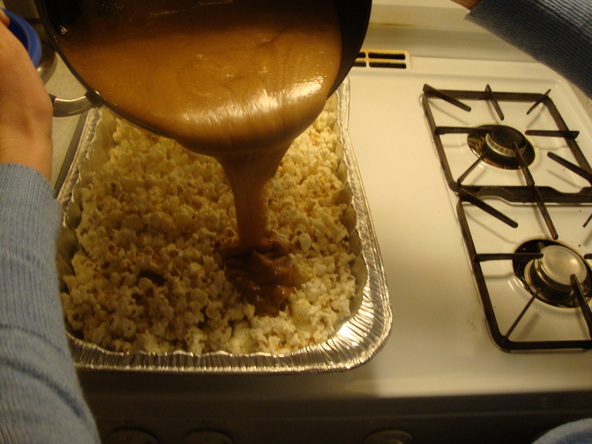
It was instant thickness when the baking soda and vanilla were added. How scientific.
And into the oven.
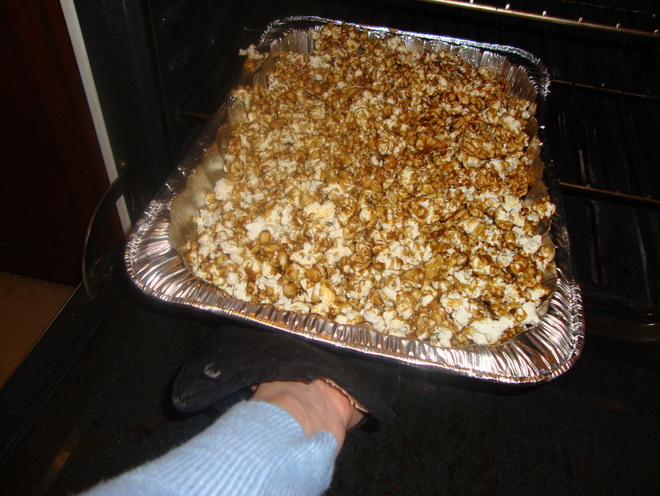
The outcome.